The Homework Room
(the best use of space ever)
When I built my first house, I designed it with as much common space as possible, meaning small bathrooms, a laundry room in the closet, hardly any storage and my biggest mistake, no mud room. When we were looking at building, I decided I was going to have a monster mudroom, crazy big and because I did not trust myself I was going with a stock plan. Well after scouring the world for the perfect plan, walking through parade of homes and finally finding the plan of all plans. We were smart enough to walk through it. We then realized that there is no perfect plan, the monster mudroom ate the house up, the kitchen was too small, in this particular plan. So even though we had bought a piece of land, and I had my heart set on building, we decided to look for an existing house. This in my mind was not to find one, but rather to convince Tim that building was the only option, this method had worked for two years of walking through houses but... When I came across this house it happened by chance it was over our price range but just barely. Tim fell in love and wanted to act quickly, I told my husband he was wrecking my dreams because I love to design and build. Now I have had to change my dream, into recreating this house. So here it is. There was an office in the front of this house and a mudroom/laundry that was hardly big enough to call either. So since my husband made his office downstairs in a huge room with a view. I decided the lockers would occupy the front office and then my imagination took over.

Ceiling stripes
I started by painting everything white. I'm in love with white for some reason. And then the ceiling screamed to be painted with stripes. I used this orange tape and glue stuff that was for striping rough surfaces it was $15 bucks on amazon. The glue stuff stopped working quickly probably because I was holding it upside down on the ceiling. I tweeked it by using my fingers instead of this little cap thing, it was really messy. Next ceiling I stripe I will be just putting the tape up and then using the flat white paint to fill in the cracks before I apply the color.

For this wall
I had wanted to do a tongue and groove wall, but after pricing it all out it would have been more then $300 so after scouring the internet I decide to do a sort of plank wall but horizontal. These are 5 1/2 inch wide by about 1/2 thick, I found the thinner planks at home depot and they were cheaper and I like them for this look better. I can't remember the exact price but it was close to $100 dollar for the wall. The desk was a down east clearance store find $90 pieced together by me.
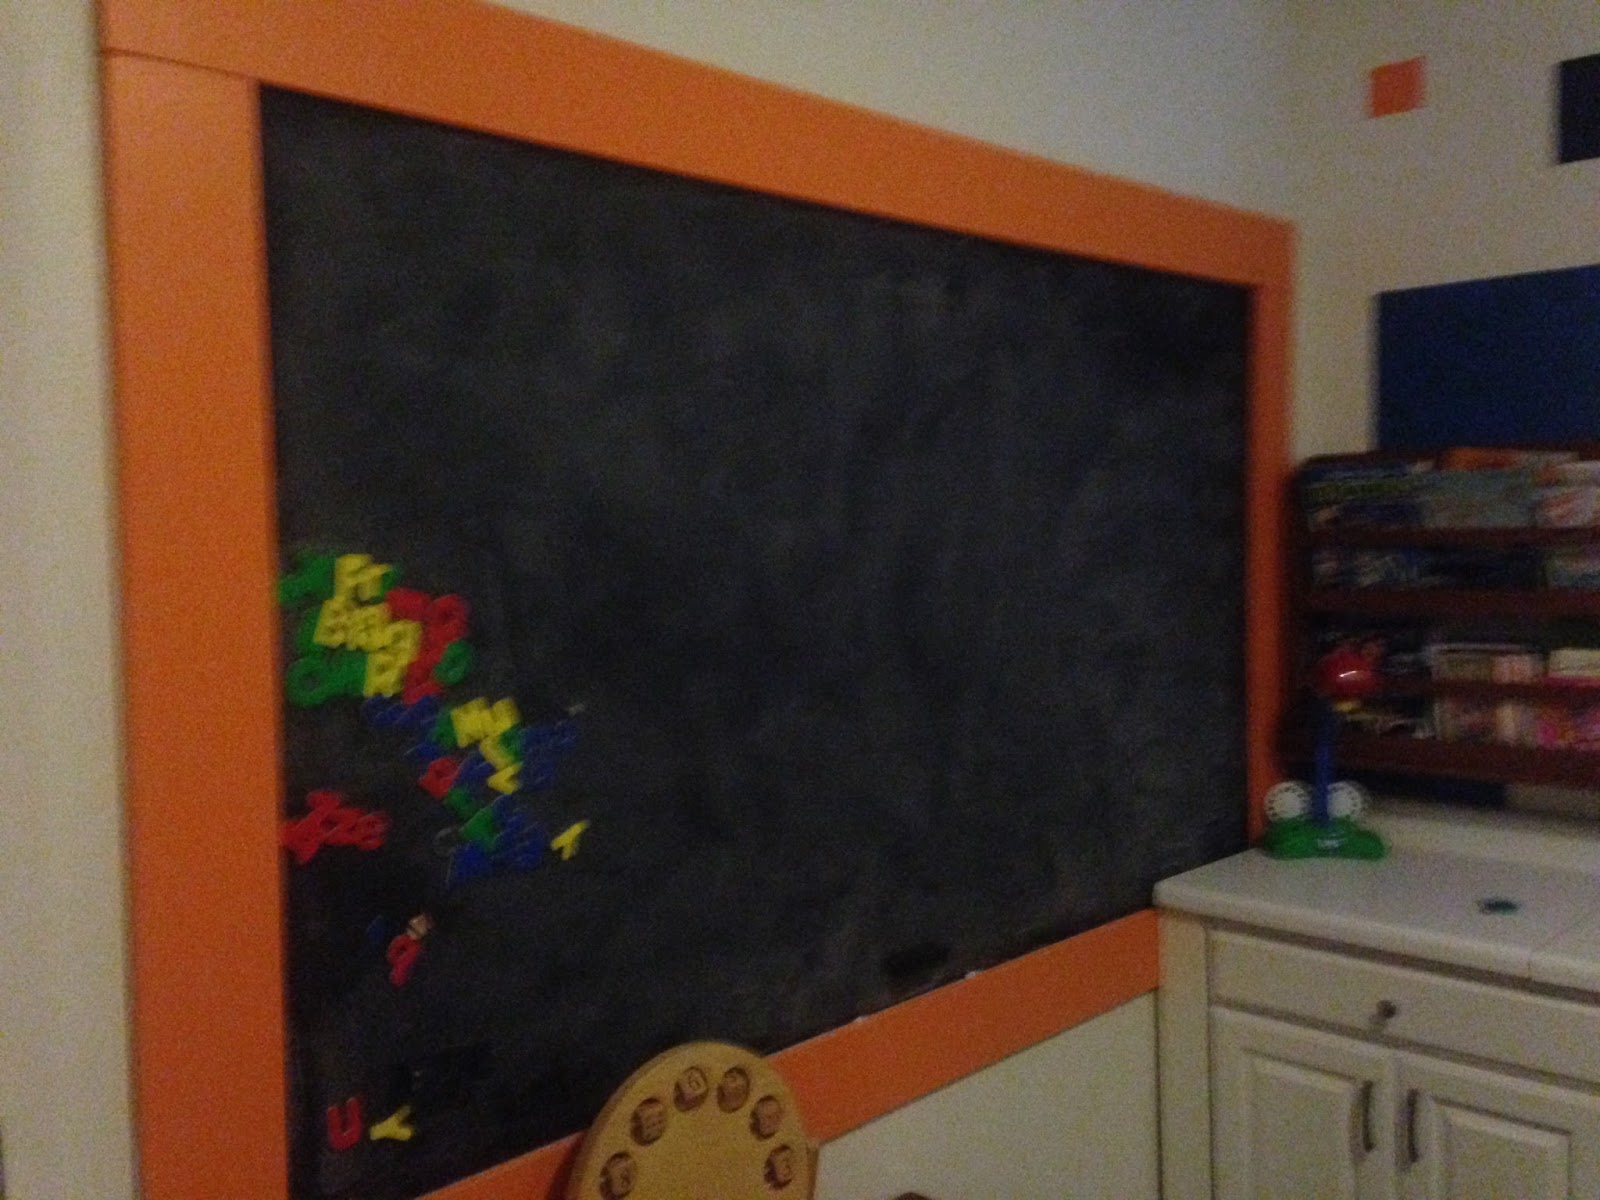
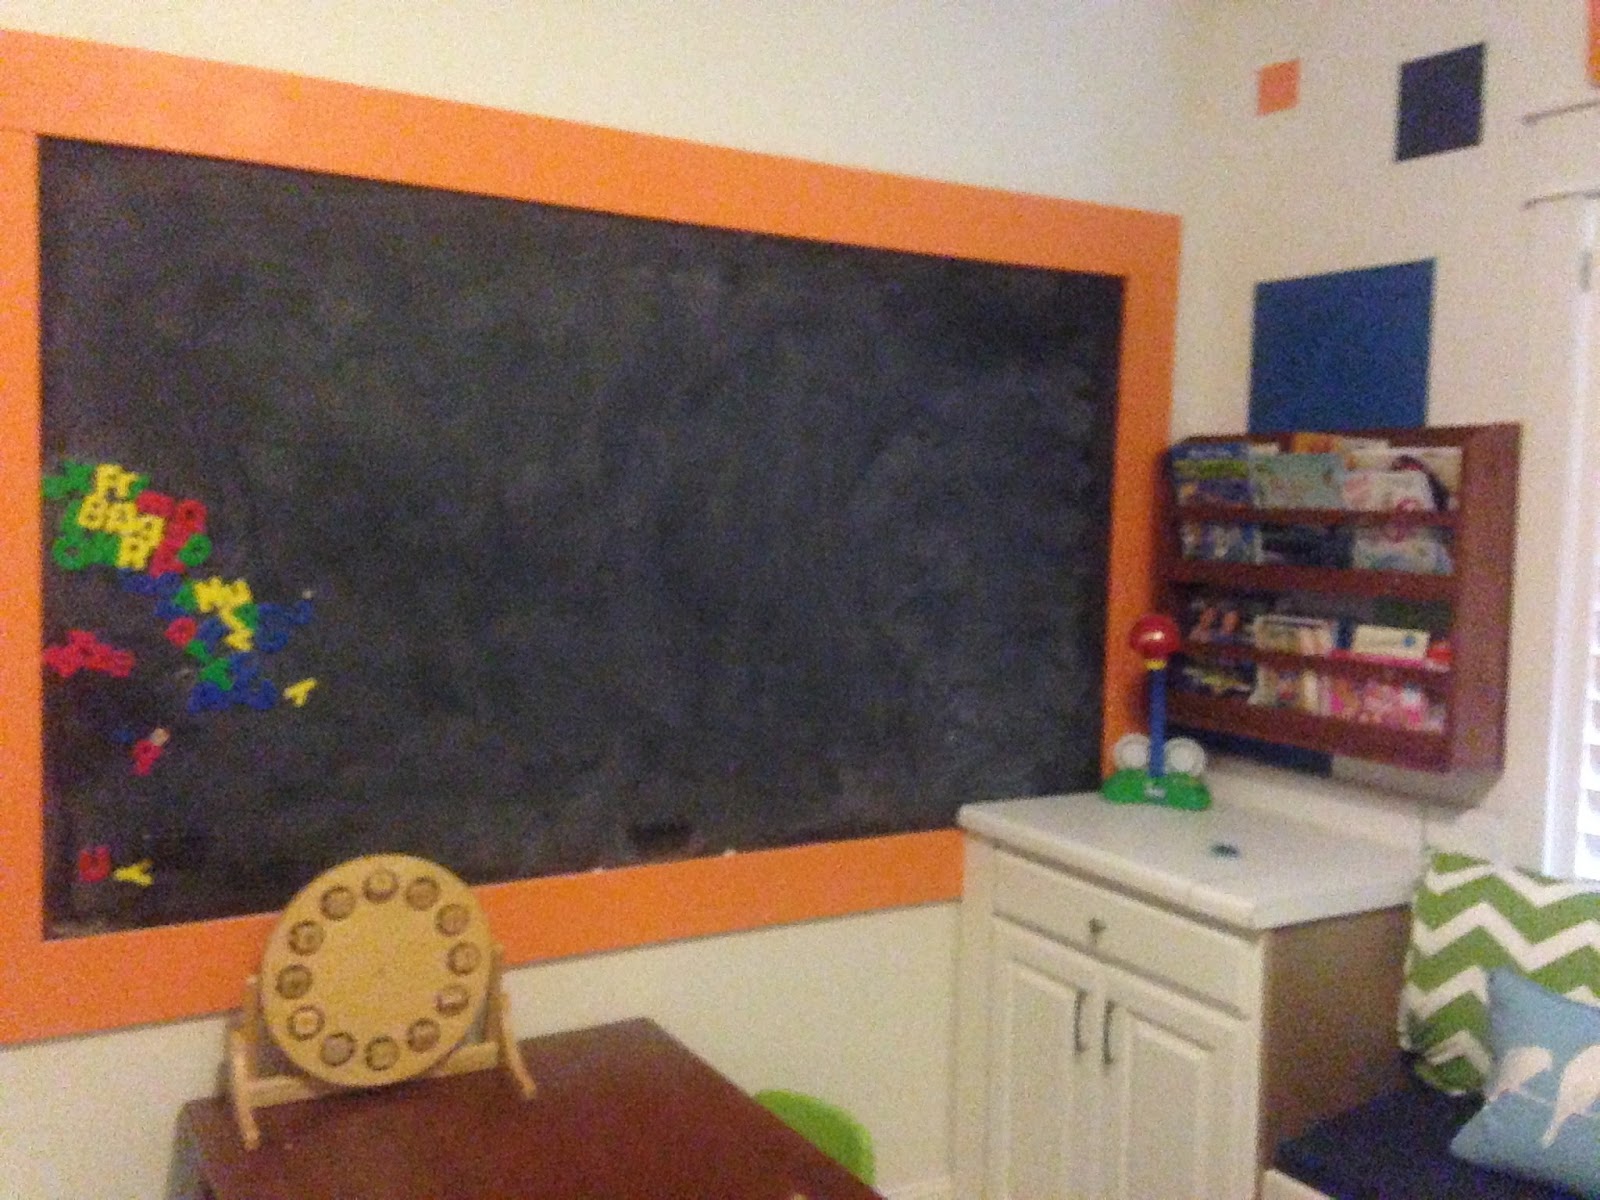
I have always wanted to do a big magnet chalk board. I research and realized magnetic paint was not going to cut it. So I made a visit to the metal mart in Lehi. Lovely place, they helped me but it was a bit scary. So I just bought a 4X12 $48 sheet. This was far to big so I had them cut it for $8. Which was awesome because then I had two pieces for two projects. The biggest mistake I made with this who thing is I decided to paint it after it was secured to the wall. There is a tile floor in this room so I thought no biggie I'll just clean up. But the mess from the chalkboard paint was horrible it got everywhere and the ventilation was bad in the room. My smaller piece I painted on the lawn, which was much better. I took more 5 1/2 mdf for the frame and walla. The awesome board is born.

The Window Seat
 |
| building a window seat |


 I am horrible at getting before pictures. so these are taken during the process. As you can see the room was yellow like the rest of the house. I thought about leaving the wainscoting and painting the bottom blue. but in the end this was not my vision of how I wanted the room to look. As in a lot of things in my life it was a trouble shooting process. Its a good thing I'm learning some patience along the way. Just taught my daughter how to trouble shoot square roots while typing this up. Yes we must find out what works whether it be numbers or paint color. Don't stop until you have it right.
No comments:
Post a Comment